
Blooming Basket Workshops | March 2024
Join us March 25th, 28th or 30th for our blooming basket workshops! Register online (links below) to save your spot. WHAT YOU NEED TO KNOW:…
Learn More
Transform Your Yard
How to get projects started in the yard. Making a house a home takes similar effort as making a yard a garden. The end product…
Learn More
The best way to RESTORE your soil after Jumping Worms
Tea Seed Meal–The best way to restore your lawn and gardens if you have a jumping worm problem.
Learn More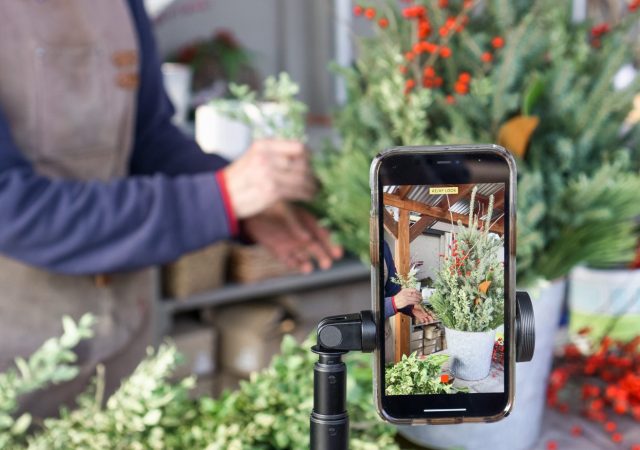
Join Us For This Season’s Tree Top Pot Classes
Curious to see the process behind how our team builds our lovely holiday tree top pots? Sign up for one of our two tree top…
Learn More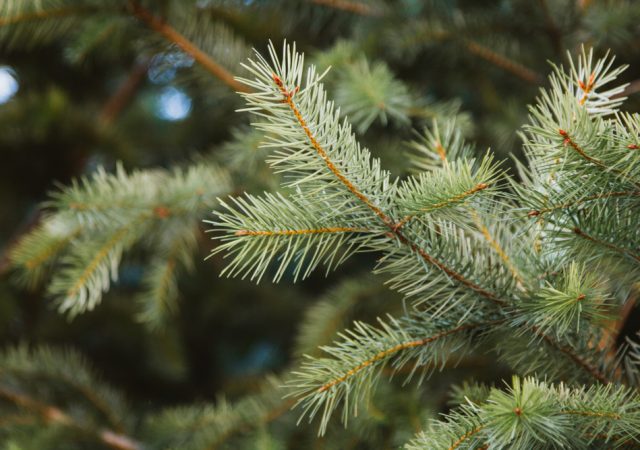
What Is the Difference Between Fraser, Balsam Fir, and Canaan Fir Christmas Trees?
Though the debate between fake Christmas trees and real trees continues to rage strong, anyone who’s serious about Christmas cheer knows that investing in a…
Learn More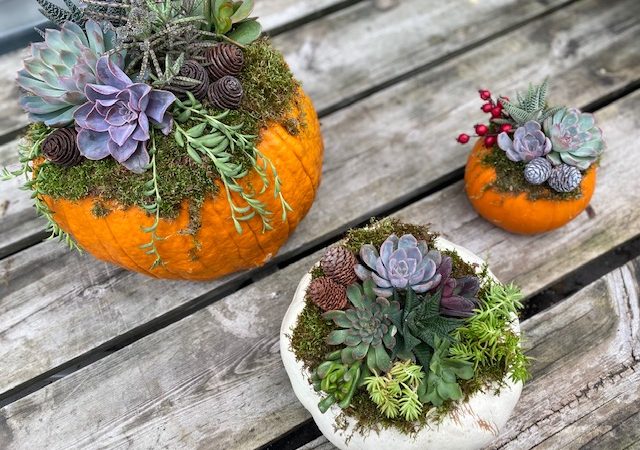
Succulent Pumpkin Care
The perfect autumn centerpiece is here! These Pumpkin Succulent Gardens will add beauty to all of your fall celebrations, but the best part may be…
Learn More
Tree top pot time!-CARE INSTRUCTIONS
The temperatures are just right for assembling your outdoor containers! The winter season is the longest here in MN, so keep in mind that these…
Learn More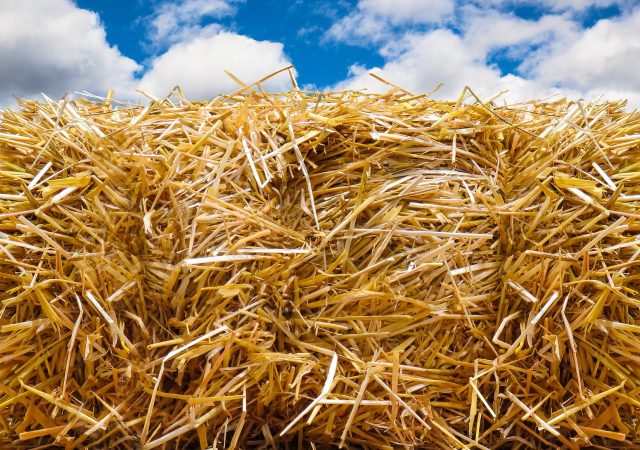
Best Use of Straw Bales
The best use of straw bales- Straw is traditionally used to add a protective layer to perennial beds for winter. MN can have a mix…
Learn More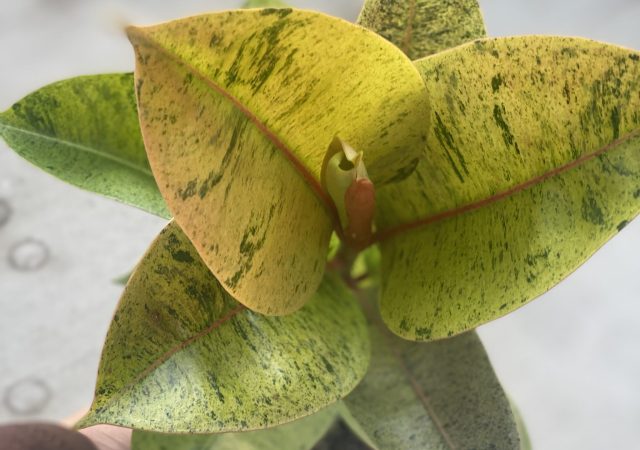
Ficus elastica ‘Shivereana’
Ficus elastica ‘Shivereana’ Nicknamed “Moonshine,” this Ficus variety can be a fun addition to your indoor plant collection. If you know Ficus, this one does…
Learn More