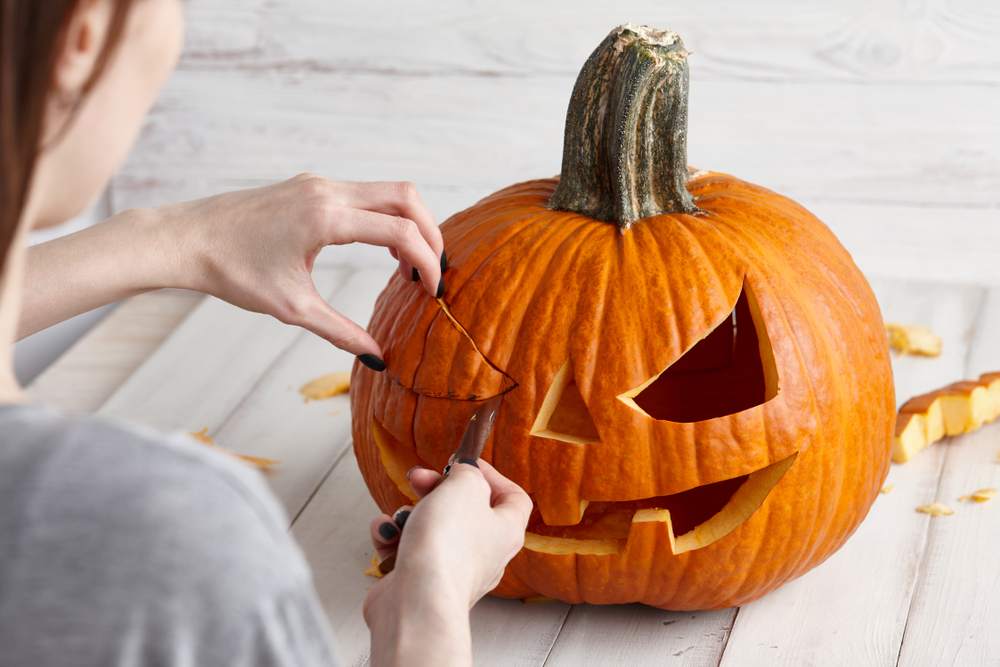
Regardless of how much technology progresses, how many lights you slap-up, or how many fake spider webs you spread oh-so-carefully in your well-kept shrubs, your house will never look ready for Halloween (or fall in general, for that matter) without at least one pristine pumpkin out front. People have been carving pumpkins (or turnips, beets, and even potatoes) into jack-o-lanterns for centuries, and that’s not likely to change anytime soon.
As nice as it feels to partake in the age-old tradition of stabbing a gourd into pleasing shapes and scooping out its guts, it’s always disappointing to see your hard work go to rot in a matter of a few days. Fortunately, that doesn’t have to be the case! Storing pumpkins the right way can help you get more enjoyment out of your annual carving spree and keep your home looking festive for a little longer.
A Little Prep Work
It may come as a shock to know, but pumpkins are wet on the inside. The tough exterior skin protects the soft, moist insides from the elements, but once you carve into that outer shell, that protection is compromised, and your pumpkin will begin to mold and sag quickly. Fortunately, taking a few steps prior to carving your pumpkin can help reduce bacteria count on the inner surface to keep your pumpkin creation standing strong for a little longer:
- Clean the inside and outside surfaces with a mixture of one tablespoon bleach and one-quart water
- Allow the pumpkin to dry completely after cleaning before carving
- After carving, give it another bleach treatment â leave it submerged for 24 hours in a bucket filled with water and 2/3 cup of bleach
By killing off as much bacteria as possible, you’re slowing the rate at which your gourd will mold, thus keeping it firm and shapely.
While on Display
Your job as a responsible pumpkin perfectionist doesn’t end when you plop your creation on the porch, all bleached up and expertly carved. In fact, maintaining your pumpkin while it’s in full view of the world (or your neighborhood, at least) is perhaps the most demanding part. In order to keep your pumpkin perky after the carving is done:
- Don’t use real candles â flameless votive candles and battery-operated lights are best
- Rub a bit of petroleum jelly on all the carved edges to keep them sealed and moist (but be sure to clean the pumpkin first!)
- Use a peppermint conditioning spray to moisturize your pumpkin daily â and get the extra benefit of a good whiff of peppermint whenever you pass by
- Pick a shady, cool spot that generally stays pretty dry for display
One of the most details of how to store pumpkins properly is temperature. Try not to leave your pumpkin outside when it’s freezing. If you’re expecting temps under 50 or 60 degrees Fahrenheit, take your pumpkin inside. If it’s too warm, consider putting your pumpkin in the fridge when it’s not on display.
If It Starts to Wilt
No matter how hard you try, no pumpkin is immortal, and even your most delicate, wonderful carving creation will start to sag eventually. Fortunately, you can fight these early signs of aging to get just a little more time out of your hard-won decoration. If it’s starting to wrinkle around the edges despite the petroleum jelly and daily peppermint spritz, it’s time to get serious about hydration. Give your pumpkin an overnight ice bath, a good thorough soak, and that should keep your gourd looking great.
Get Your Perfect Pumpkin
How long do pumpkins last on average? According to sources, most jack-o-lanterns hold out for five to ten days. How long do they last with these tips? That depends on how adamant you are about your pumpkin care.
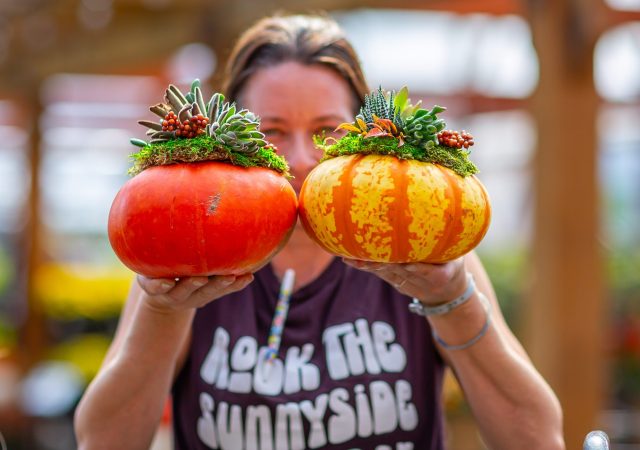
Make sure you get the most out of every master carving you make this holiday season by starting with a pristine pumpkin and doing everything in your power to keep it moist, cool, and clean. Contact Sunnyside Gardens for more info on pumpkin care and find the perfect gourd to serve as your fall canvas.


