Harvesting Vegetable Seeds
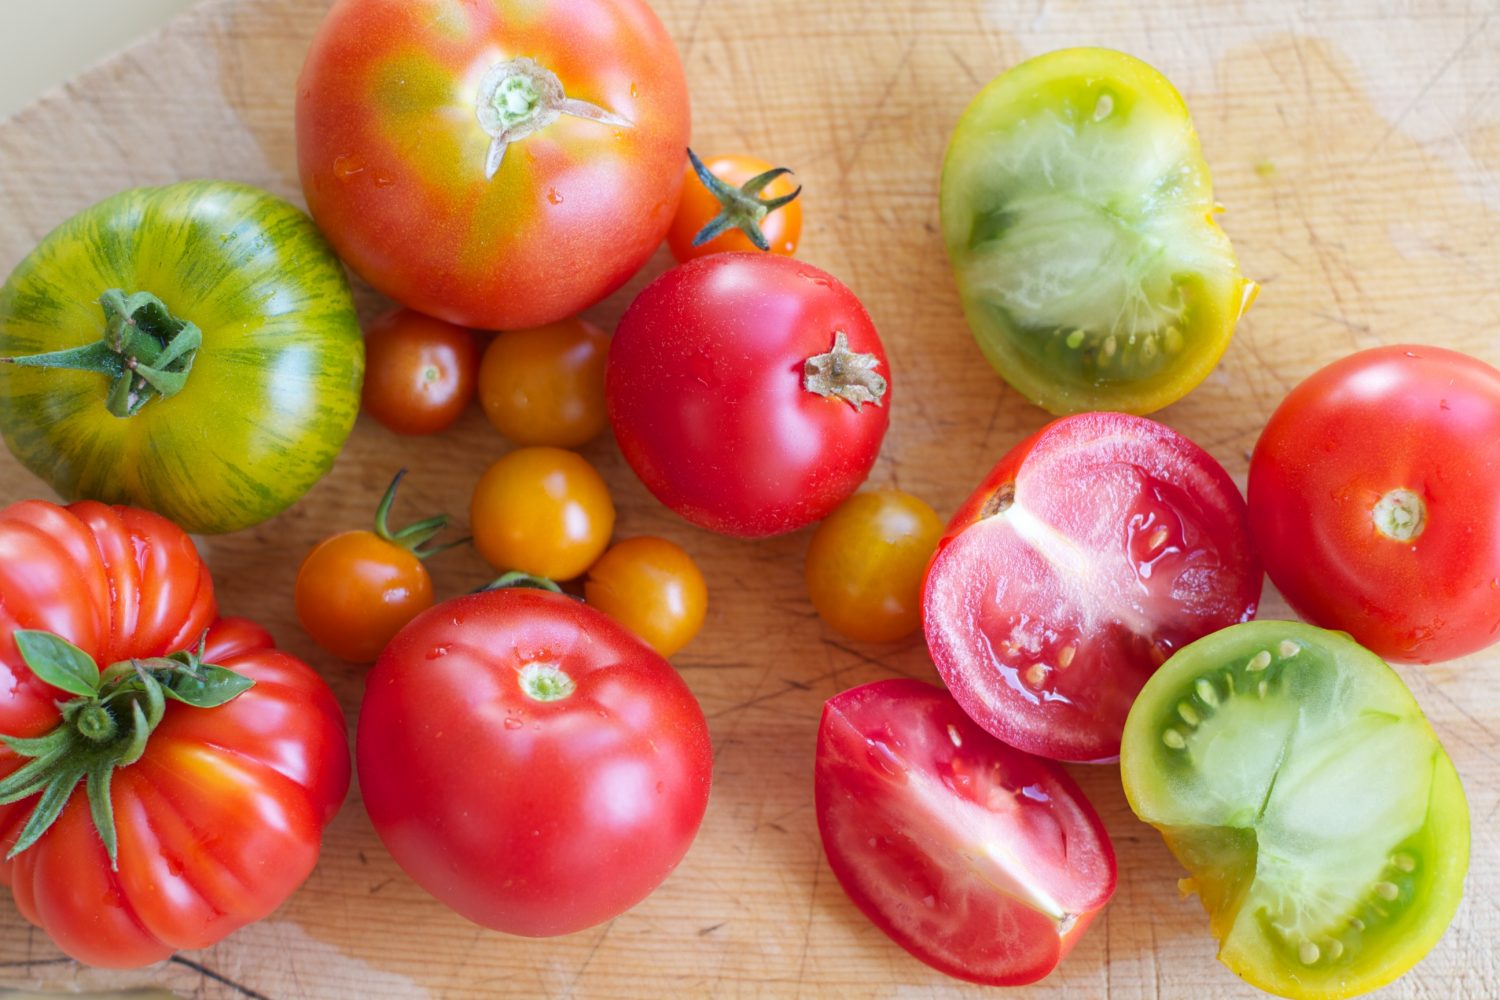
Start next year’s plants from this year’s crop! Tomatoes, peppers, beans, and peas are all good candidates for harvesting seed. Cucumbers, melons, squash, and pumpkins generally do not grow true to type, meaning the plant you grow from seed will not be the same as the mother plant. When selecting plants to harvest seed from, look for open-pollinated or heirloom varieties as opposed to hybrids. Seeds from open-pollinated plants tend to produce offspring that are very similar to the mother plant, whereas hybrids, or crosses from two different varieties, will have wildly variable offspring. Examples of open-pollinated varieties include âSan Marzano’ and âBrandywine’ tomatoes, âCalifornia Wonder’ and âHabanero’ peppers, âLittle Marvel’ and âPerfection’ peas, and âKentucky Wonder’ and âBlue Lake’ beans. Always select mother plants that have the best-tasting fruit and the most vigorous growth.
Harvesting the seeds from your vegetables requires just a little work. For tomatoes, allow the fruit to ripen on the vine, then harvest them, scoop out the seeds and fluid, then place both the seeds and fluid in a jar with an equal volume of water. Twice per day, stir your seed jar. Within five days, the mixture will ferment and the viable seeds should sink to the bottom. At this point you can pour off the liquid and allow the seeds to dry out on a paper towel. For peppers, simply allow the fruit to ripen on the vine to the point of starting to wrinkle. Then remove the seeds and allow them to dry before storing. For peas and beans, allow the pods to dry out on the vine. Harvest the pods, then allow them to dry out indoors for at least two weeks before removing the seeds from the pods. Alternatively, you can leave the seeds in the pods until planting time.
To store your seeds, keep them in tightly-sealed glass containers. You can put multiple kinds of seeds, individually packaged in paper packets, in one large container. Keep your seeds cool and dry, like in the refrigerator. It’s a good idea to include a little silica gel packet in your container to absorb any extra moisture. Don’t forget to label all of your seeds with the name, variety, and date collected. Seeds generally remain viable for one year.